Not sure what the Xbox One calibration image looks like, but it sounds like it's a standard white clipping test pattern. The purpose is to tell the viewer when the TV starts to clip white detail. If the sun doesn't disappear, that's fine... that just means you're not clipping white (which is good).
The issue with clipping patterns is people assume that there's a right and wrong Contrast setting, and because many TVs don't clip white detail even if you set the Contrast to 100, people think something is wrong. As long as you're not clipping white, you can set it to whatever you want.
Setting the Contrast is a bit different on Plasmas vs LCDs because plasmas don't have a backlight control whereas LCDs do, and both the backlight and contrast controls have similar purposes... to raise or lower the light output of your display (Contrast technically sets the white level, but that is essentially the peak brightness of your display). If you have a Plasma, set the Contrast as high as you can to avoid clipping, then set it to a comfortable level avoiding eye fatigue. Just because you can set it to 100 doesn't mean that your eyes can handle that brightness. On an LCD, set the Contrast as high as you can to avoid clipping, then use the backlight to set your desired light output, again avoiding eye fatigue.
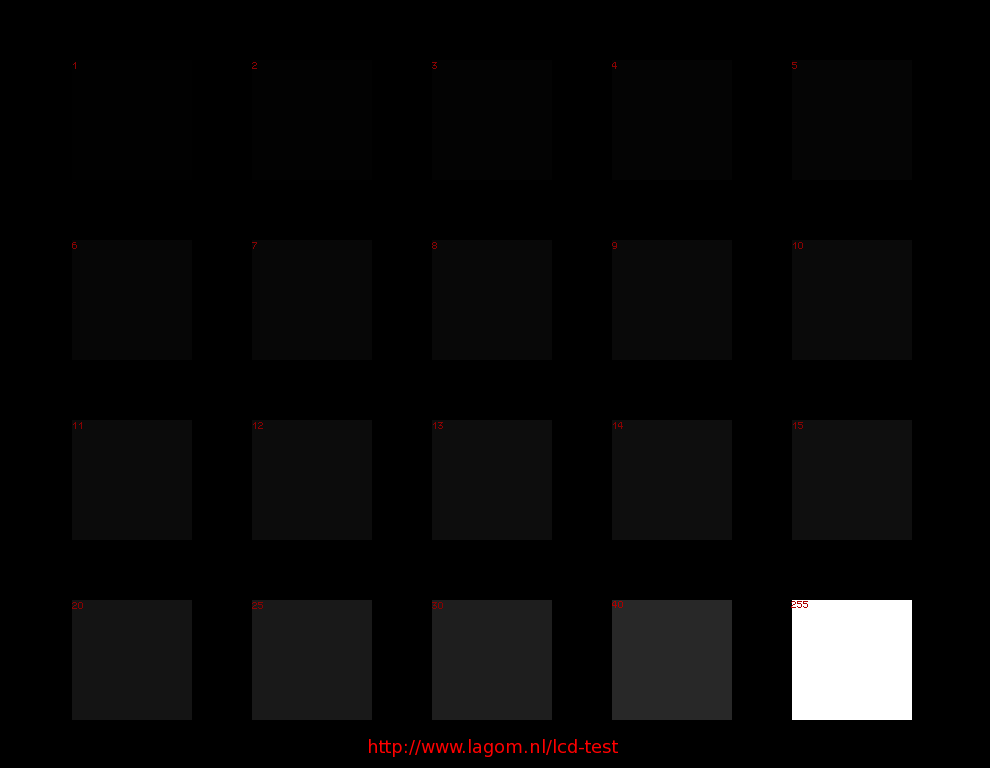
Very interesting, thanks for sharing. My Video Contrast sweet point where the sun is barely visible AND the vertical stripes between the marks -I am talking about the Xbox One built-in calibration tool- are fully discernable is at 95 -at 98 the sun just disappears-.
For Brightness the exact point where the closed eye becomes invisible is at 54.
Jogi, my advice would be to follow the calibration tool instructions carefully.
Additionally, the guys who created one of the most renowned calibration tools in the world (Spears and Munsil) have a webpage with some essential calibration tips.
Here is an extract (the full article can be found in the link below) with some particularly interesting points.
http://www.spearsandmunsil.com/?portfolio=getting-started-with-the-high-definition-benchmark-2
Preparation
Perform the calibration under the same lighting conditions you generally use to watch quality material like movies. In general, video looks best when the room is as dark as possible, but it’s most important to duplicate the real lighting conditions you will be watching under.
If there are windows in the room that let in sunlight and you tend to watch movies at night, then the calibration should also be performed at night.
When you’re ready to perform the calibration, first turn on your display and Blu-ray player and let the system warm up for 15 minutes or so, preferably playing some real material.
Video mode settings
Once the system has warmed up, it’s time to start adjusting. Most modern displays have an overall “Picture Mode” setting, and several advanced picture settings. It’s important to get these set correctly first.
Picture Mode
There are no standards for what these modes do, and the names vary considerably.
Generally if there is a “Movie” or “Cinema” setting, that is the one to use. On some displays, the “Movie” or “Cinema” mode is preset and locks out all the other picture controls. In that case, or if there is no “Movie” or “Cinema” mode, try using “Custom,” “Normal” or “Standard.”
Avoid anything that sound like it makes the picture extra-bold, like “Vivid” or “Dynamic”, or modes that sound like they’re optimized for a single purpose like “Sports” or “Game”.
Advanced Video Modes
For the most part,
we recommend turning special picture “enhancement” modes off. They are usually
optimized for low-quality video and bright environments, and actually will harm the picture quality of high-quality video like Blu-ray Discs when watching in a low-light environment.
Set these to Off or 0 (write down the original setting first):
•
Noise Reduction/Noise Filter
• Black Tone
• Dynamic Contrast
• Shadow Detail
• Flesh Tone
• Edge Enhancement
• Black Corrector
• Contrast Enhancer
• Live Color
• Smart Dimming
• Color Enhancement
• Ambient Light Sensor
• Motion Plus/Cinema Motion/Smooth Motion/Real Cinema
• Auto Iris
If you encounter a mode with a similar name to one of the above settings, or a mode that is described in the owner’s manual as a video enhancement or improvement, it’s best to turn it off.
Special cases:
•Color Temperature/Color Tone.Setting this perfectly requires test equipment, but usually if there is a “Cinema”, or “Neutral” option, that is often close to correct and is a good choice. If that is not offered,
“Computer” or “Normal” are other good choices. “Cool” is not generally a good choice, as commonly it sacrifices color accuracy to get higher light output. It is worthwhile putting up the 11-Step Crossed Gray Scale pattern and trying the different color temperature settings.
Any setting that makes any of the gray steps seem to have a colored tint are probably badchoices. It’s not uncommon to have more than one setting that looks essentially white.
Unless you have the test equipment necessary to check color temperature, just select one that looks as neutral as possible.
•Backlight. If this setting is offered, a good starting point is to turn it to the middle value. Later on, when you are performing the rough Contrast adjustment (further down in this guide), if the screen seems uncomfortably bright when viewing the Contrast pattern on the Spears and Munsil HD Benchmark, 2nd Edition, turn the backlight down until the light output is comfortable to view. Then check it again when you are performing the Brightness adjustment (further down in this guide). If the screen seems notably dim while viewing the Brightness pattern, such that the right-hand bars on the Brightness pattern are very hard to see once the Brightness control is set correctly, then turn the backlight up.
•Black Level or HDMI Black Level.This
should be set to “Low”, “Video”, or “Standard”. It should not be set to “Normal”, “PC”, or “Extended”.
______________________________________________________________-
Note how they are recommending you to set the TV to Standard RGB, which is the standard for video.
My TV doesn't even support Full RGB -the option is nowhere to be seen- despite being a 2013 set and it shines at Standard RGB, so I can't complain.

 ).
).